
How to organize your photos as a photographer step by step guide
Photo organization.
Do those two words make you cringe a little bit?
I know that organizing your photos can be one of those things that makes your head hurt but I promise you once you have the system down, you don't really have to think about it anymore.
And getting some sort of system down sooner than later is going to save you OODLES of time and lots of headaches down the road!!
#justsaynototheheadaches!!!
Start with a brain dump
Types
The best place to start when it comes to organizing your photos is to take 15 minutes, grab a sheet of paper and a pen or pencil (or a bunch of colored pens/pencils if that's your thing) and jot down all the types of pictures you need to organize.
For example:
RAW images
Client images that are full resolution
Client images that are web sized
Blog images
Album images
Social Media Images
Images for your portfolio or website
Images that you take on your phone
Images that might come from other people that you might use for something (social media etc...)
Personal images
Phone images
etc.....
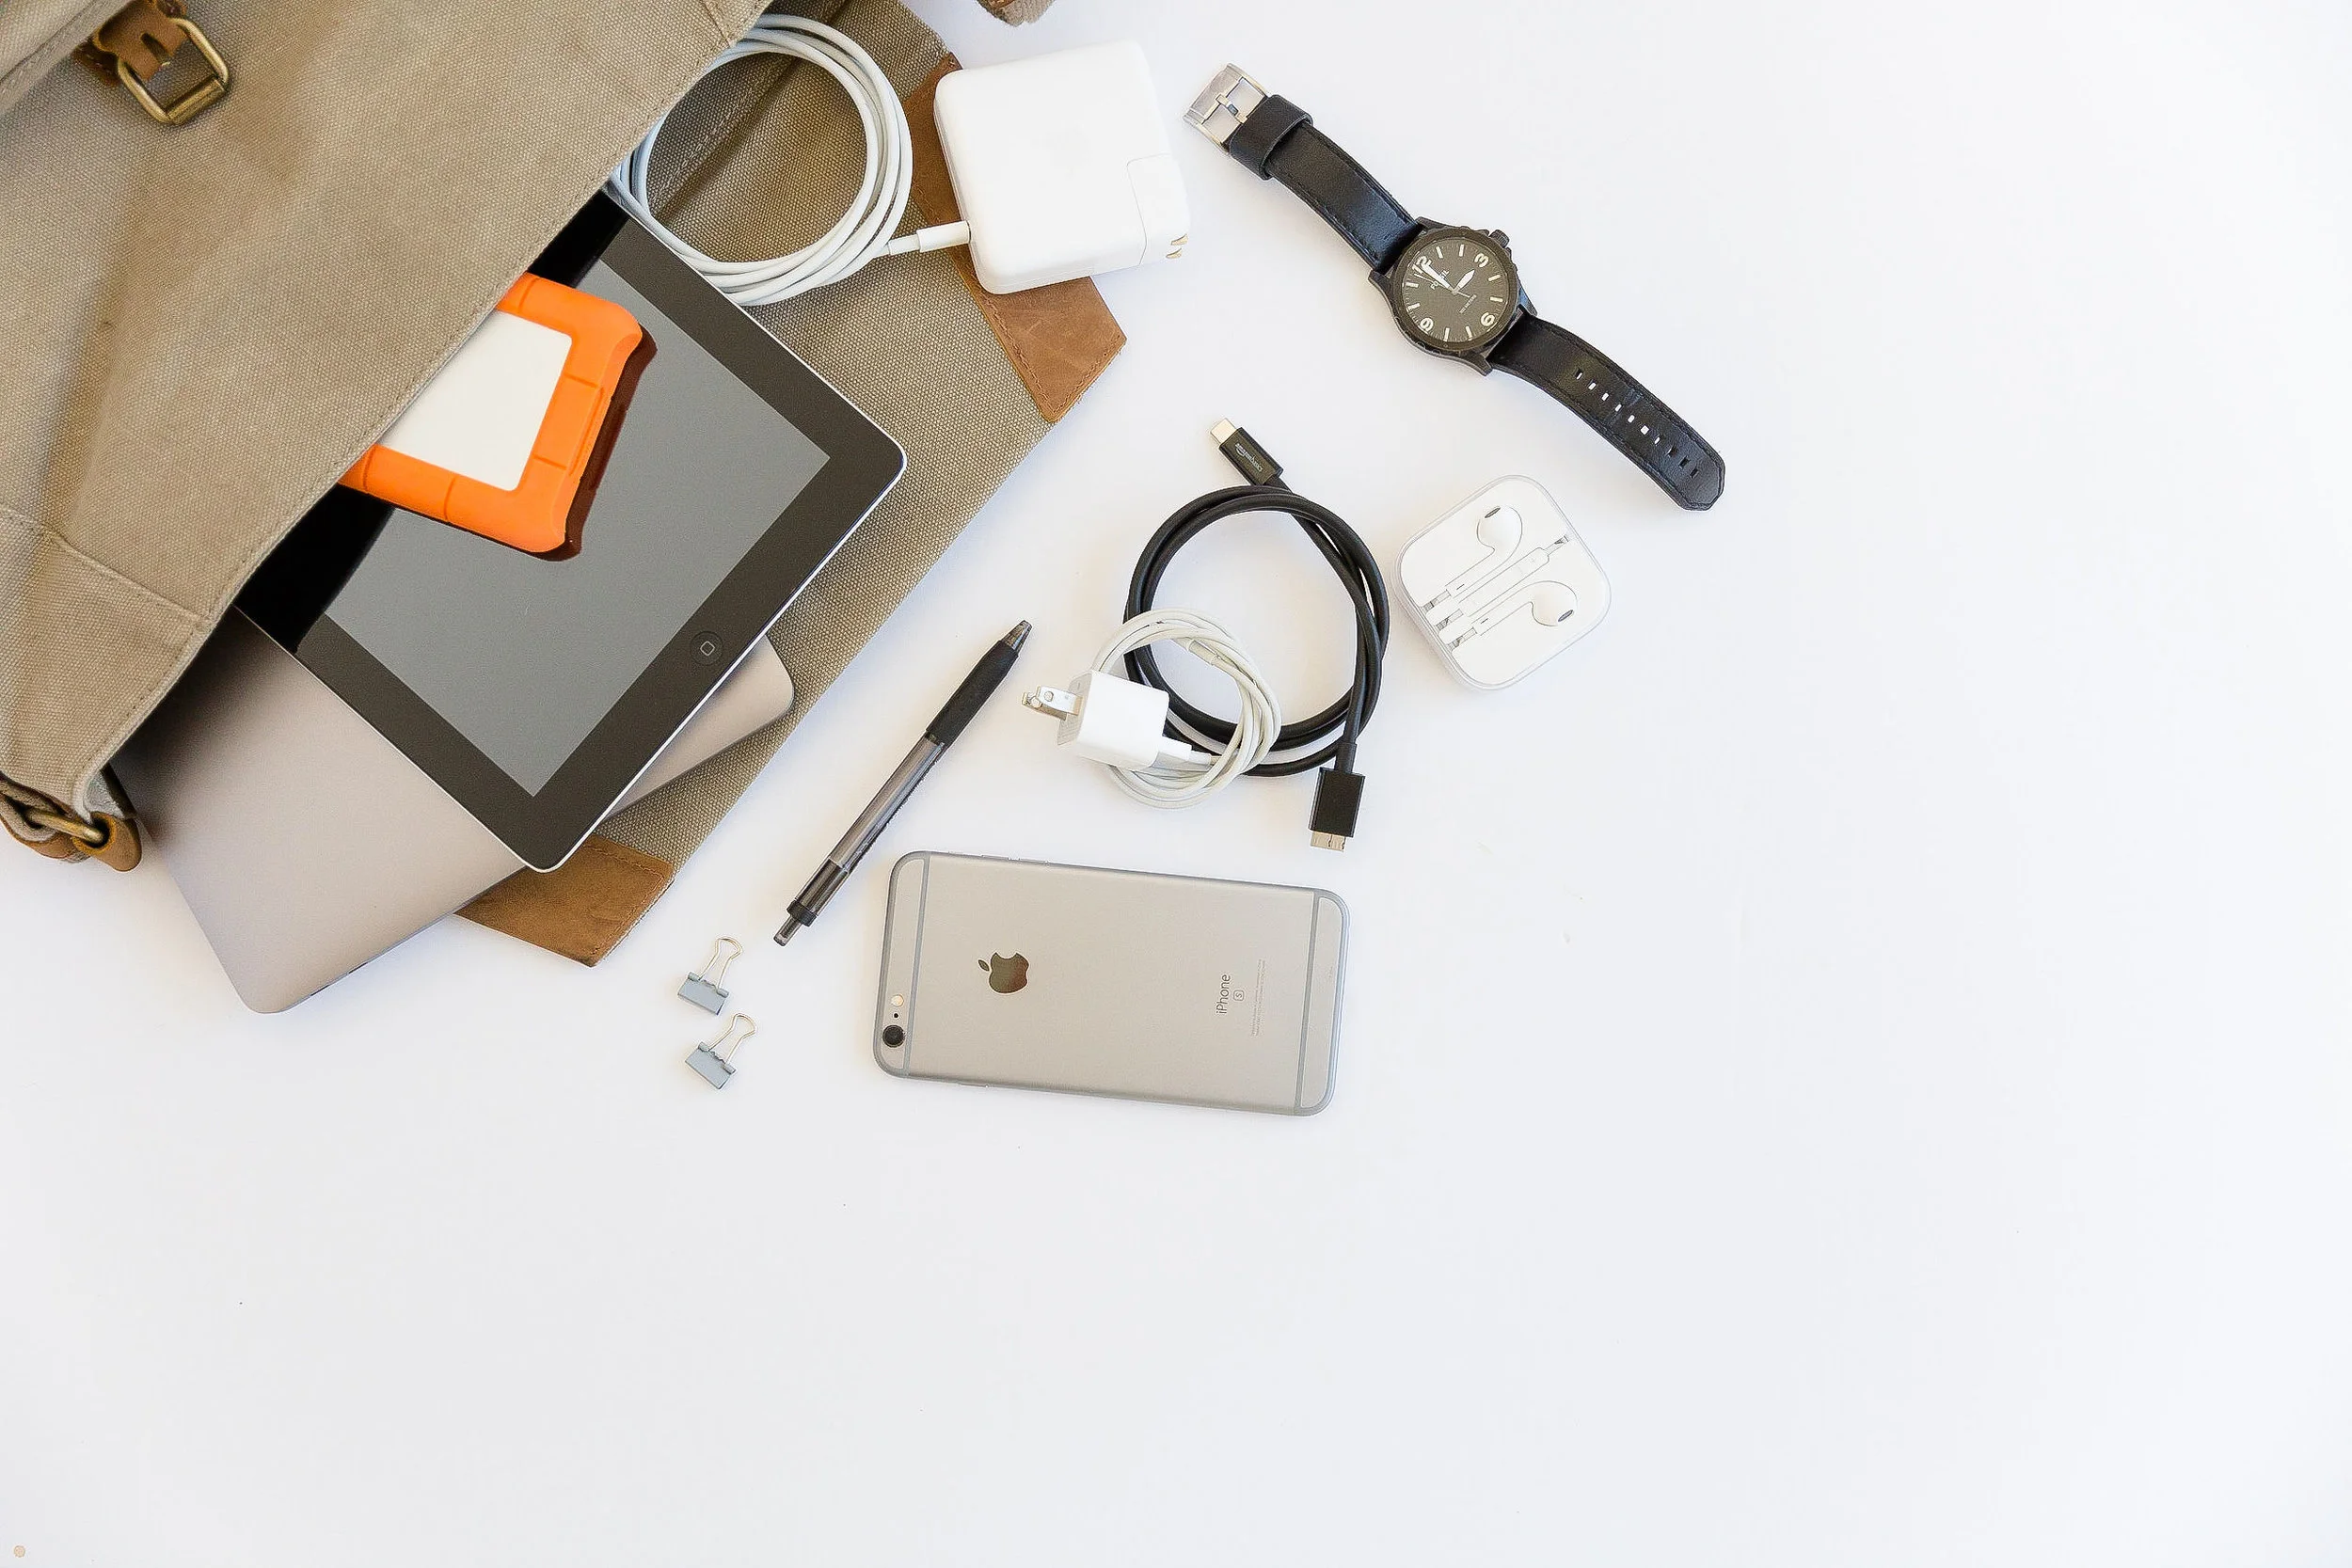
Location
Then you need to determine where you will need to access those photos from. In other words, where will you be when you need to access a certain photo from one of the categories above? (This can be one of the most frustrating things EVA...not having access to certain photos when you need them).
For example:
Your main computer or desktop hard drive
External hard drive
Laptop
Phone
iPad
Another computer (like you are logging in from a hotel etc...)
Knowing WHERE you need to access the photos FROM is the crux of the entire system. If all of your social media images are sitting on your external hard drive at home and you are wanting to post on Instagram and have no access to those photos it can be very frustrating.
Having access when needed is where you will save yourself the majority of headaches!
Watermarks and sizing etc...
The last thing you need to think about during this brain dump is whether or not you need to add categories based on how you will be displaying the images. For example, if you want images that include watermarks for social media but not for your website, you'll have to further delineate your categories to make sure everything has a specific place based on size/display etc...
>>> Wanna know my stance on watermarking? <<<
Organizing into a system
Ok, once you have brain dumped everything into categories etc...you'll need to create the overall system that everything will fall into.
***It's important to remember that depending on the system that you create for yourself, you might potentially have the same photo in two different places. Sometimes, since photos serve different purposes this is totally fine but its a good thing to really think about ahead of time so you don't overwhelm yourself (or your hard drive!)
It's also important to note that when you are creating your system, the combination of the TYPE of photos you are dealing with and WHERE you'll need to access them from will help simplify the process.
For example...
Photos that I take for clients (family sessions, engagements, weddings etc...) that need to go through an editing process etc...will need a slightly different system than other types of photos (stock images I purchase or phone photos). AND I typically won't need to access those photos (that the clients will be receiving) from my phone so I can keep them on an external hard drive.
Photos I need to access from a laptop or on my phone (mostly images I'll be using on social media or on my website etc...) will need to be more readily accessible so putting them in dropbox or google drive is a better idea.
By type or by date?
The two most common methods I have seen for photo organization usually center around type of photos or by date photos were taken.
Personally I am a huge fan and proponent of organizing by date. Dates are objective and they are what they are. Sometimes when organizing by type there is some subjectivity about what type of photos they actually are and also you have the potential of having a LOT of different types of photos and not remembering where you put them.
Dates however are easy to understand and organize. You can start with the year and then delineate by month and by day and then by a description of what it was that you took photos of. I can still easily find photos taken years ago by simply clicking through the various months from the year they were taken until I come across what I'm looking for.

Once you have an idea of HOW you'll be organizing the majority of your photos, you can start creating folders and/or a system to keep everything in.
I like to create the yearly and monthly folders at the start of every year so they are all ready for me and I don't have to create them on the fly.
You'll also notice from the photo above, that I include 1_ 2_ etc...in front of the months. This helps keep everything nice and tidy when you organize by name.
I try to keep EVERYTHING together under each session so I know where to find things. So all of the RAW images, client images and blog images will be in the same folder for each client.

And again, I add the 1- and 2- in front of the Client and Blog folders so that they will show up on top of the folder when I organize by name. It just saves time from scrolling down to find what you are looking for.
Want to feel CRAZY confident every time you open Lightroom?
Grab my Lightroom Survival Kit
It’s FREE to download!!
Organizing social media and website images
This has probably been one of your biggest challenges (I know, because it has been one of mine!)
Choosing which images you want to share on social media, sizing them (potentially watermarking them) and knowing where to put them so you can access them when you need them (without searching for hours and hours) is exhausting.
I'm kind of exhausted just thinking about it.
I've tried LOTS of different things over the years and have finally found a solution that works relatively well as long as you stick with the system and don't get lazy. <---that will get you EVERY time and ends up costing you MORE time in the long run.
The absolute best and easiest way I have found for organizing social media images is through Dropbox.
If you aren't totally familiar with Dropbox, you should be. Its an awesome cloud-storage solution that will help you stay connected to what you need whenever you need it. Dropbox allows me to edit the same photos from both my laptop and my desktop and have access to images and files from my phone, or any computer or web browser I might be using.
I simply created a folder in my Dropbox and titled it "Social Media" and then after every session or wedding that I am done with I do the following:
I choose images that I might want to share on my social media or put on my website
I resize them (you could use blogstomp or export them from LR as a smaller file size)
I add them to the Social Media folder in whatever category fits best

Organizing and backing up your phone photos.
This is actually one thing that I was doing even before I started my business that has worked seamlessly for me for years.
If you currently use Dropbox and have it added as an app on your phone, you can update the settings to automatically sync your photos taken from your phone right to your Dropbox.
This way you know that all of your phone photos are already backed up into your Dropbox account and you don't have to back them up else ware.
The photos from your phone will also be easily accessible from anywhere you can access Dropbox (like your computers or the web). Its the BEST and I literally recommend it to everyone.
Every few months, I also go into the folder in Dropbox and create monthly folders and then add the photos into those folders to further organize and keep track of all of my phone photos. This makes it SO easy to find things when I need too!!

Hopefully this post has given you some ideas about a good way to structure and organize your photos from not only your business but also your personal.
Staying organized does take a little bit of work on the front end but it will end up saving you HOURS and hours of time on the back end when you are looking for that ONE photo that you just can't seem to find. Pinky swear. ;-)
Now go get organized!!


