4 things every Squarespace user should do on their site
Squarespace continues to be my favorite platform for photographers and creative business owners who want to be able to easily build a professional and beautiful website, and be able to make changes on the fly without spending hours of time researching, worrying that they are going to break something or spending hundreds on a website designer.
As I continue to work with creatives using the Squarespace platform, I realize there are some things about the platform that aren’t super obvious until you actually start looking for them. Four simple changes to your site that can elevate the professional look of your site as well as help you with your SEO efforts on the back end.
Let’s dig in shall we?

Update your footer on your Squarespace template
I’ve said it before and I’ll continue to say it. Your website is there to advertise for YOU, not for Squarespace.
Squarespace is awesome and I love talking about it, but if you aren’t a Squarespace super fan, you really don’t need to tell all your web visitors that it’s the platform you use for your website. Most all of the templates that you start with include a simple text box in the footer that says “Powered by Squarespace” with a link to the Squarespace site.
Take that out.
Like right now.
Your footer should include much more helpful information that will help your website visitors and any time you implement a useful and helpful element on your site that will automatically increase your SEO rankings...even if in a small way.
Things you should/could include in your footer:
Your location
Your email address
Your business hours
Instagram feedAdditional navigation bar or repeat of top level navigation bar
Additional branding/logo
Links to publications for social proof
Terms & Conditions / Privacy policy
The beauty of your footer is that it is literally on every single page of your website. Design it once and that helpful information is right there at the bottom of the page in case your web visitors need it.
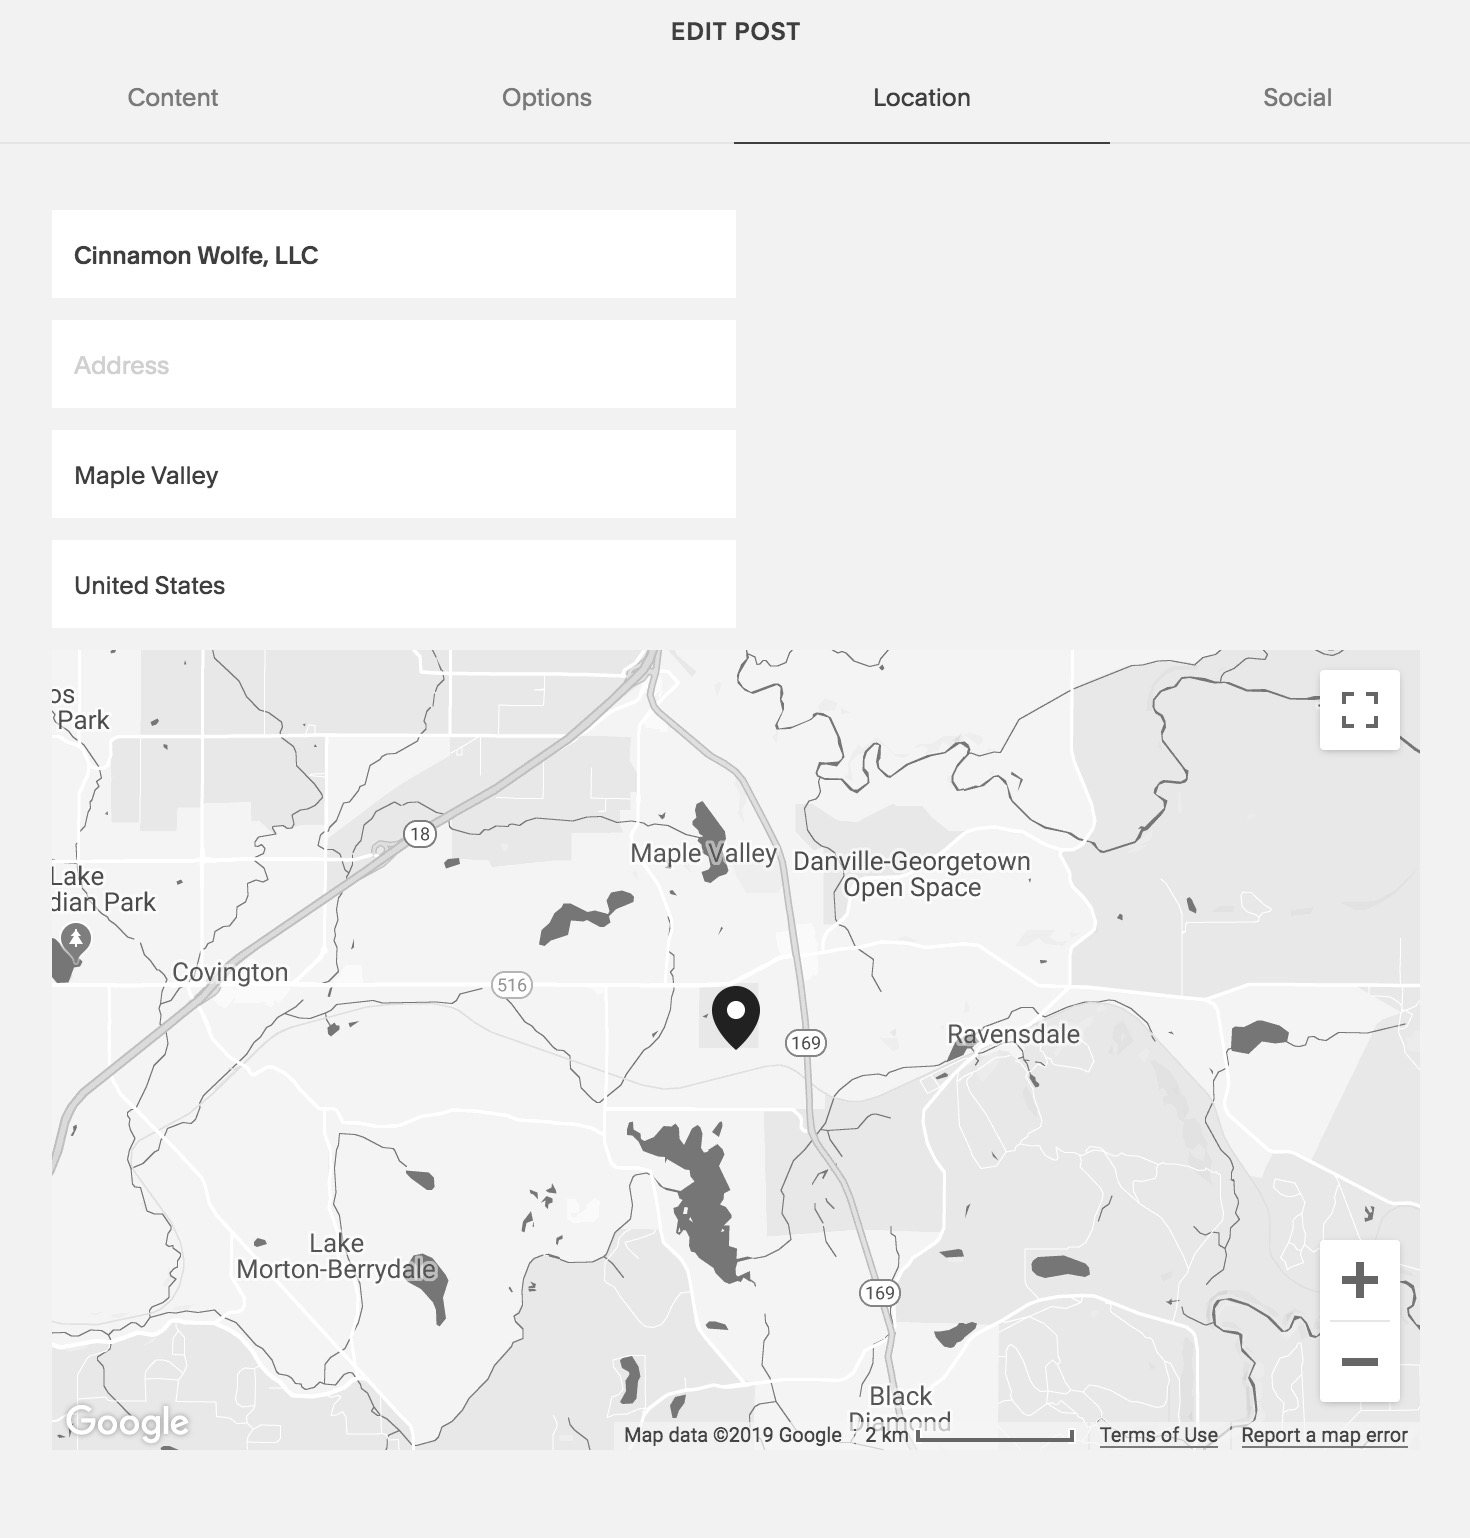
Add your location into your blog post settings
Did you know you could do this? In the settings of each individual blog post there is some options at the top, one of which is location. Adding in your business name and location (I usually just add my city and my state) is great information to have working on the back end for you when it comes to SEO.
Recommendation:
If the blog post is generic in nature and not location dependent, include the actual location of your business (that preferably matches the information in your Google my Business listing.)
If your blog post is location dependent (i.e..photo session taken in city/location different from where your business is physically located, add the location of the session
Customize your 404 page
What the heck is a 404 page? In general lingo, its a page that displays when a link to your website that someone was trying to access is no longer found….or in other terms a broken link is on your website and when someone clicks on it, the web has to send them somewhere...so they are redirected to the default 404 pages built in to the backend of your site.
This is obviously not a great experience for a user. No one likes to click on a link and then get a “dead” page. There are ways to check for broken links on your site so that you can go and fix them but that is a subject for another day.
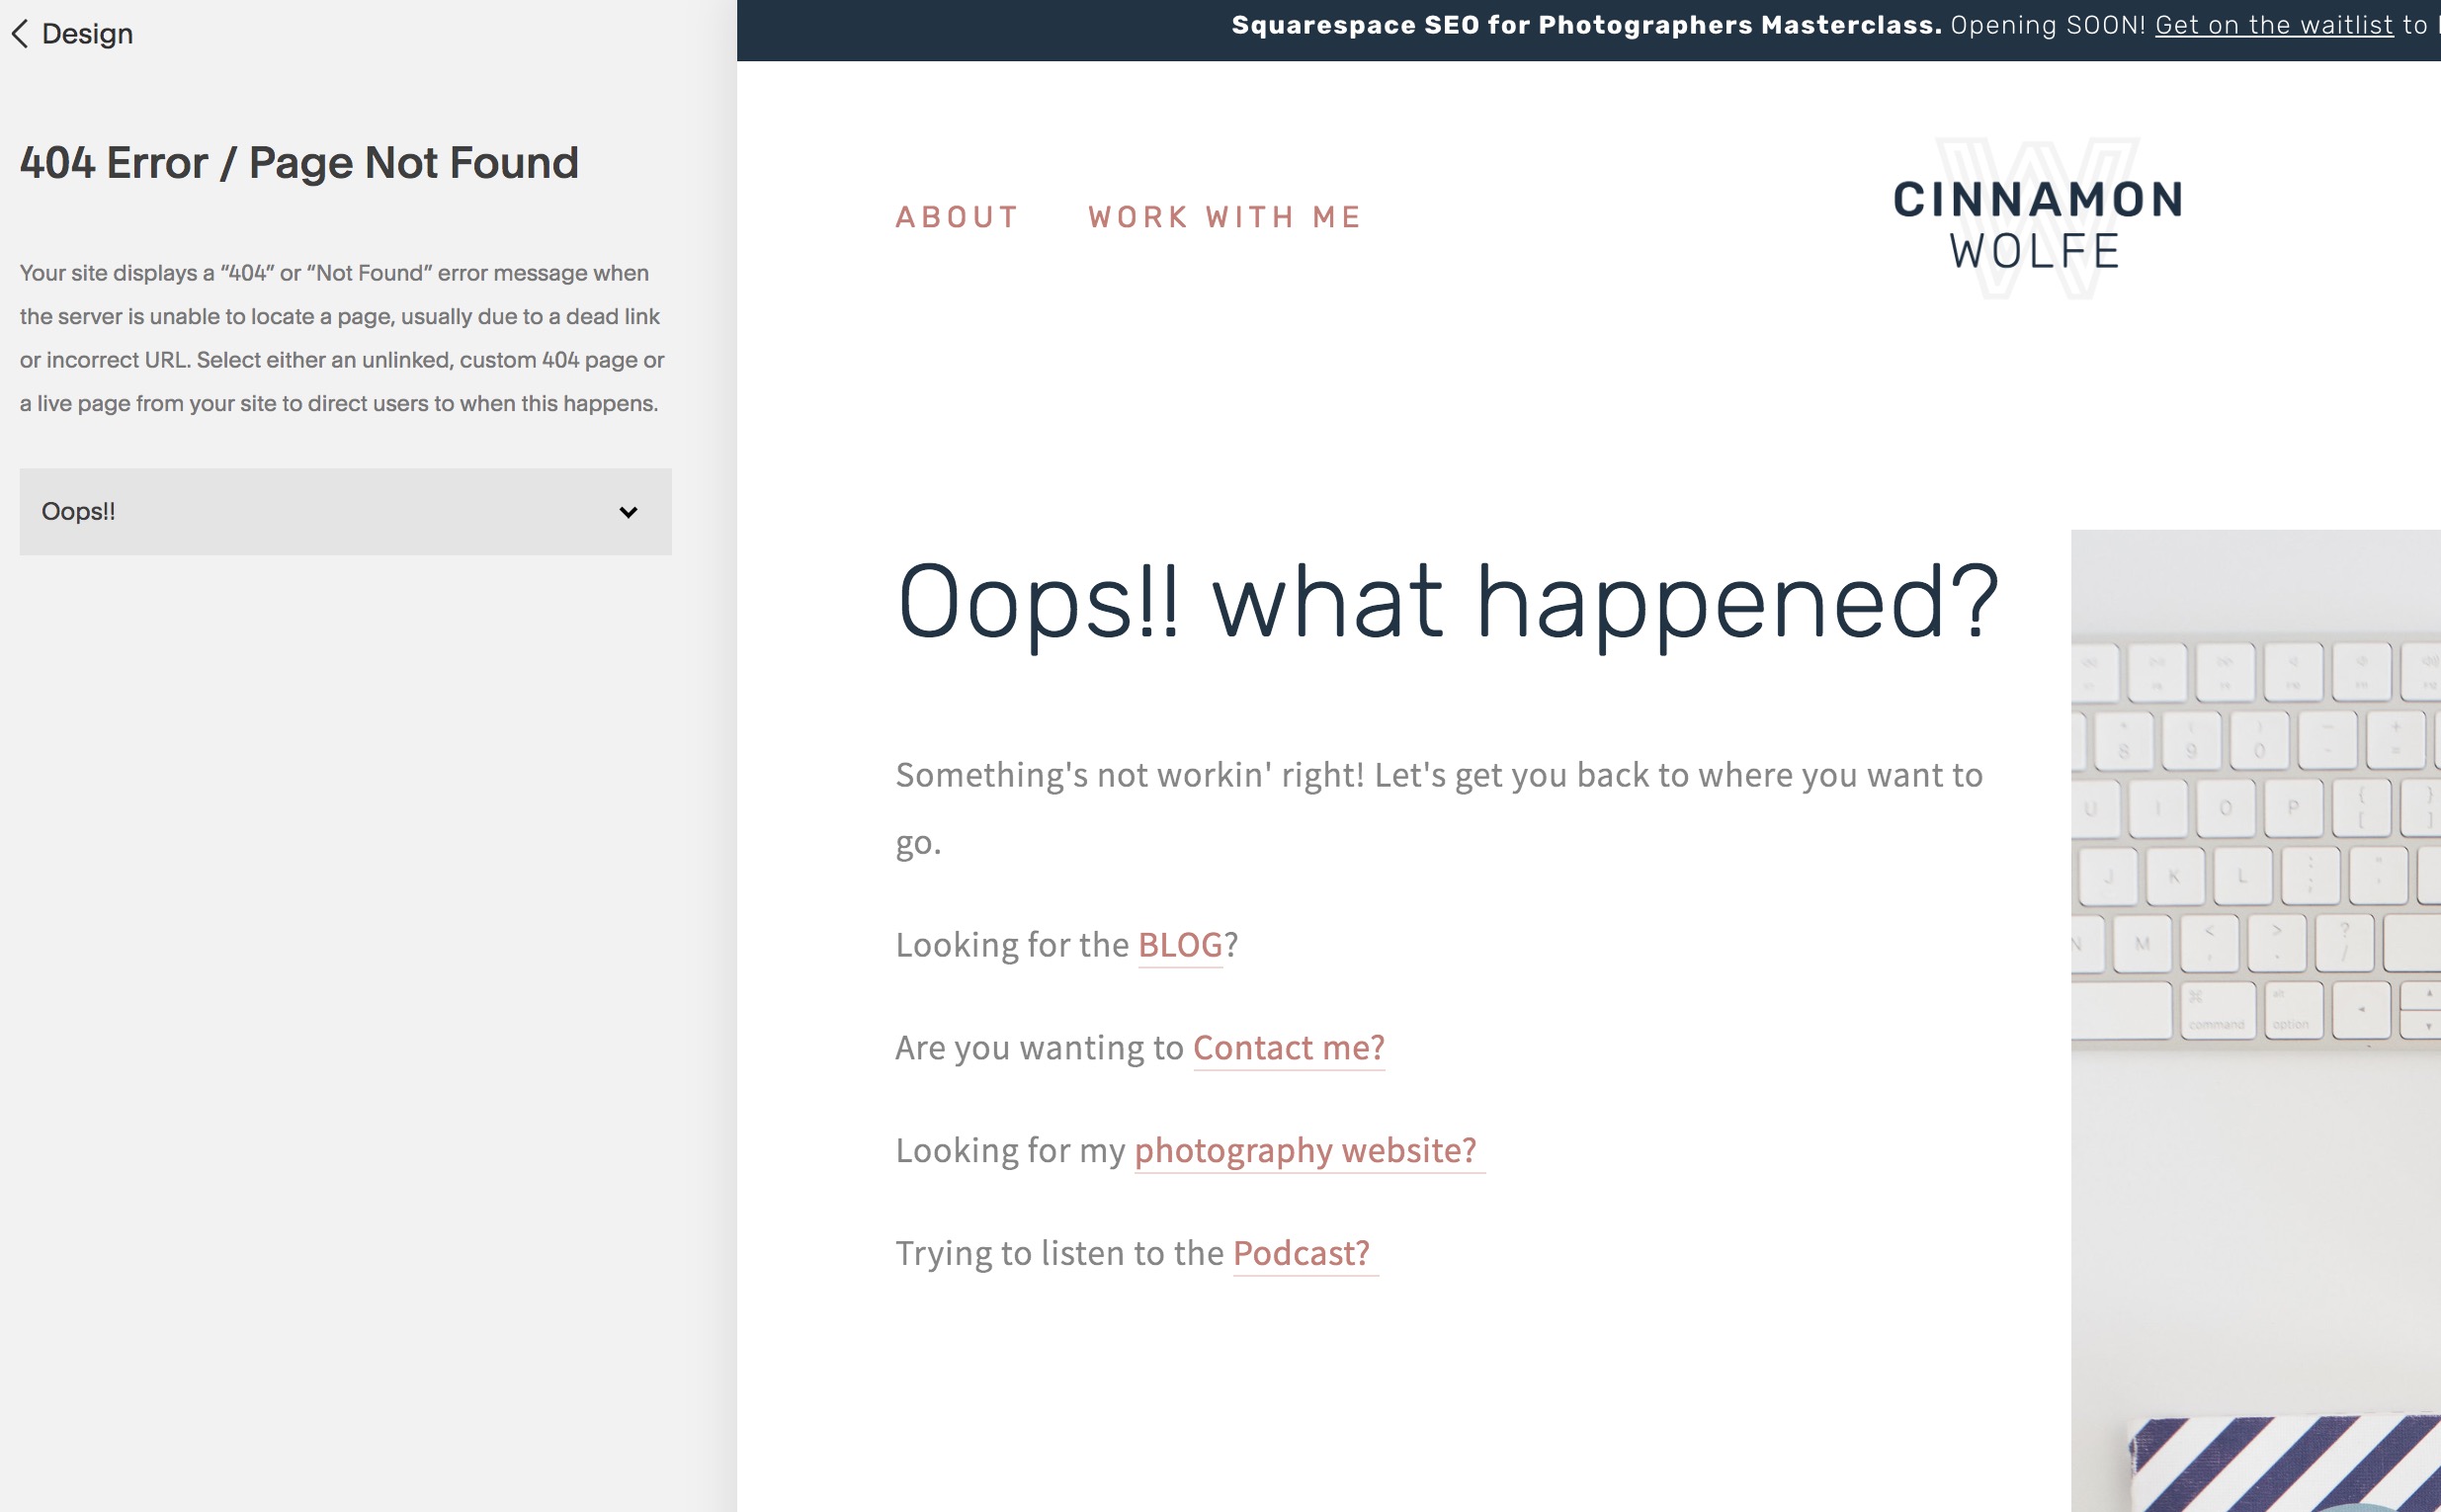
One thing you CAN do however is customize your 404 page on Squarespace to help get people back to another place on your site and hopefully help with the user experience.
This is not as difficult as it sounds. The first thing you need to do is create a page in your unlinked section and design it how you would like. Here is an example of the one on my site.
Then you need to go to Home/Design/Not Found/404 page
From there you just designate which page (the one you just created) should be the 404 page. You could also just choose your home page (or any other page on your site for that matter) but I find that to be a little more confusing to a website visitor.
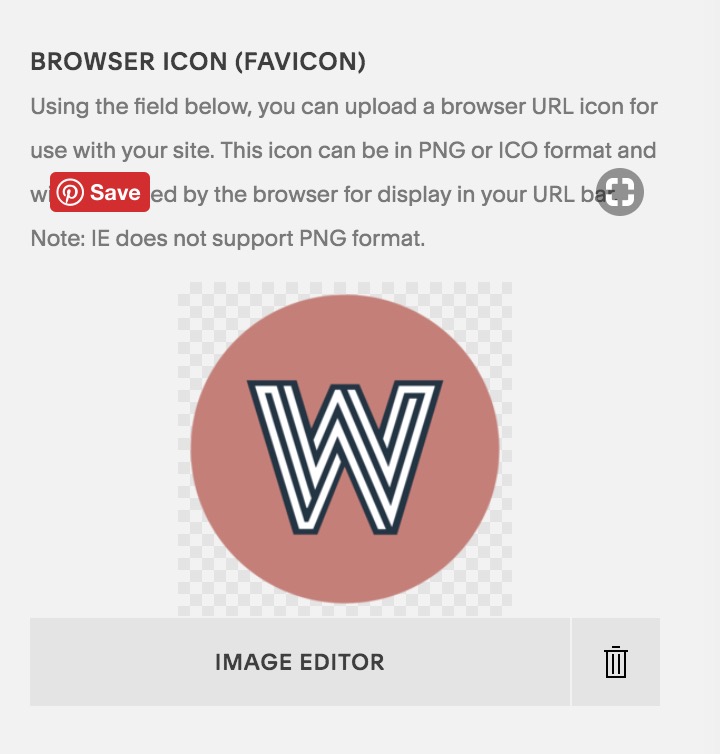
Add a favicon to your site
A favicon is the little design element that shows in the tab when a website is open. If you are in google chrome right now, look up at all those tabs you have open and you’ll immediately see the favicons on the tabs.
If you don’t add your own favicon, squarespace will default add the little grey square into your tab instantly letting everyone know that your site is 1) on Squarespace 2) not a fully professional site. It sounds silly but even little things like that can communicate certain things about your brand or your business.
It is super easy to add a favicon, the hardest part could be getting one designed to match your brand. If you work with a brand designer, they should be able to whip you one pretty quickly, if not, you could buy the proper sized file on etsy and just choose one that fits with your brand even if it’s not 100% branded.
Regardless, it’s a fabulous idea to get a favicon added to your site sooner than later. Simply go to Home/Design/Logo Title and scroll down to the bottom. You’ll see where you can upload it. Once you save the page give it a few minutes to start displaying on the browser tab!
Here is a video showing how to do all of the above and if you like this video, head over to my YouTube channel to subscribe, check out all of my videos and make sure to subscribe so you’ll get notified when I add new ones!